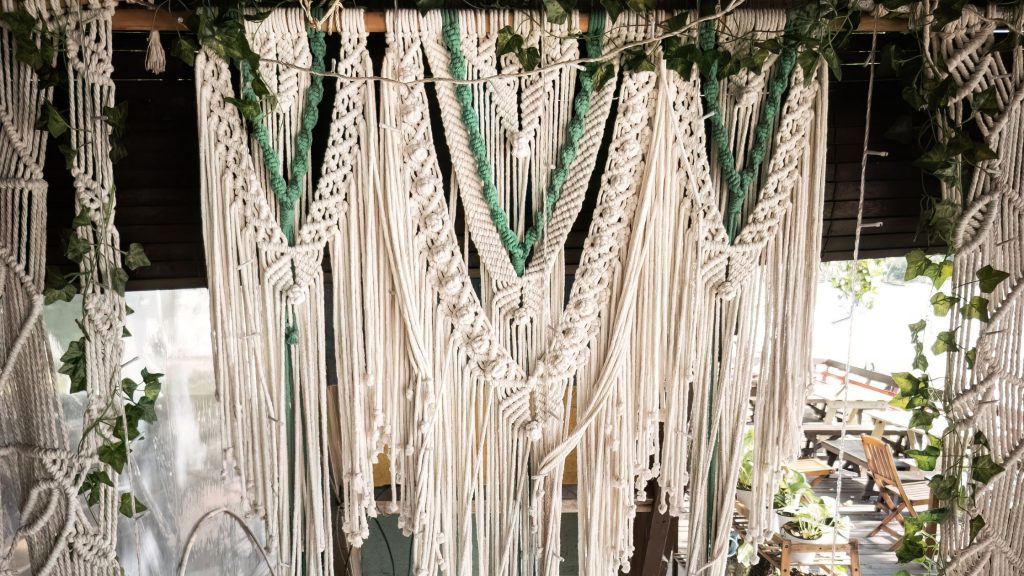
If you’ve ever admired the intricate beauty of macrame curtain patterns and found yourself longing to create your own unique design, then look no further! In this article, we will guide you through the simple steps to bring your creative vision to life. Whether you’re a beginner or an experienced macrame enthusiast, these straightforward instructions will help you master the art of crafting stunning macrame curtain patterns that will add a touch of elegance and warmth to any space. So grab your materials and let’s get started on this delightful journey of creativity and self-expression!
Steps To Make Macrame Curtain Patterns
Choosing the Materials
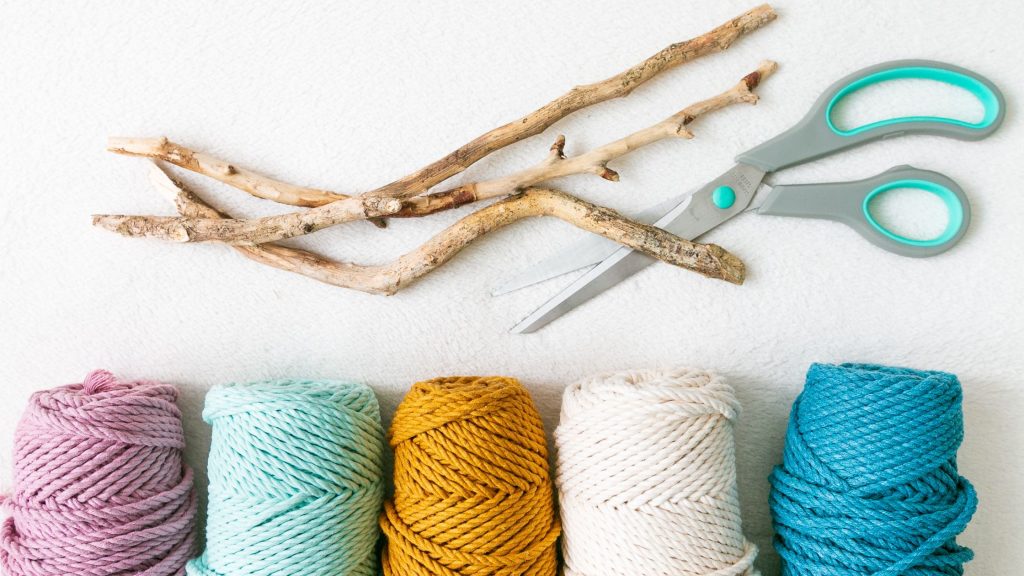
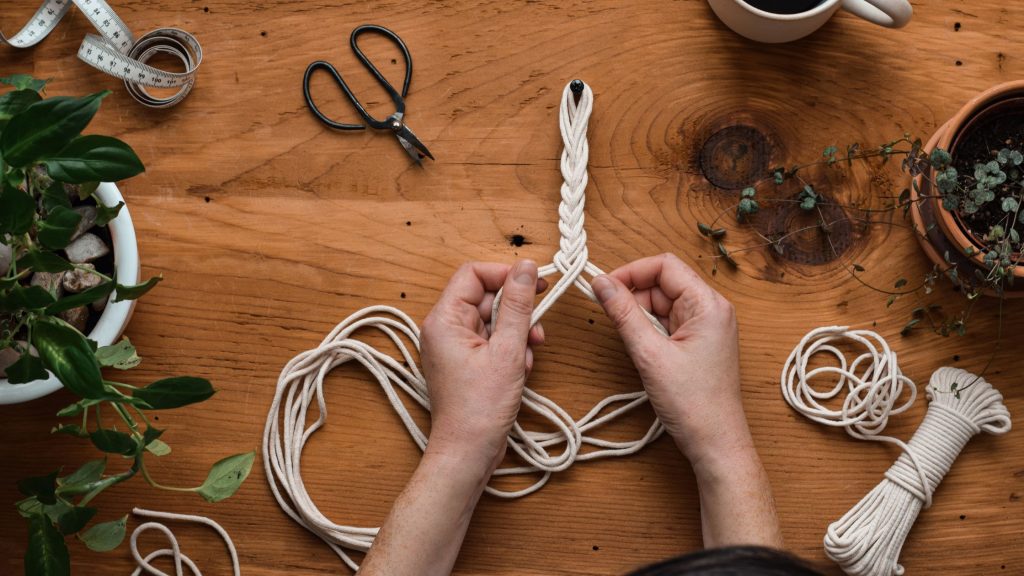
Selecting the Rope
When it comes to making your own macrame curtain, choosing the right rope is crucial. Macrame rope is available in various materials, such as cotton, jute, or nylon. Consider the overall aesthetic you want to achieve and the durability of the rope. Cotton is a popular choice for its softness and natural look, while jute provides a rustic and textured appearance. Nylon, on the other hand, is known for its strength and suitability for outdoor use.
Considering the Color Scheme
Another important aspect of creating your macrame curtain is selecting the right color scheme. You can opt for a monochromatic look with a single color, or you can play with different shades for a more vibrant effect. Consider the existing decor in the room where you plan to hang the curtain and choose colors that complement or contrast with the surroundings. Don’t be afraid to mix and match colors to create a unique and eye-catching design.
Gathering the Tools and Supplies
Macrame Board or Mounting Bracket
Before you begin your macrame project, gather the necessary tools and supplies. A macrame board or a mounting bracket is essential to hold your work in place and provide stability while you create intricate knots. You can either purchase a macrame board specifically designed for this purpose or make your own with a piece of wood or cardboard.
Scissors
A sharp pair of scissors is a must-have tool for any macrame project. You will need them to cut the rope to the desired length and trim any excess at the end. Choose scissors that are comfortable to hold and have a fine point for precise cutting.
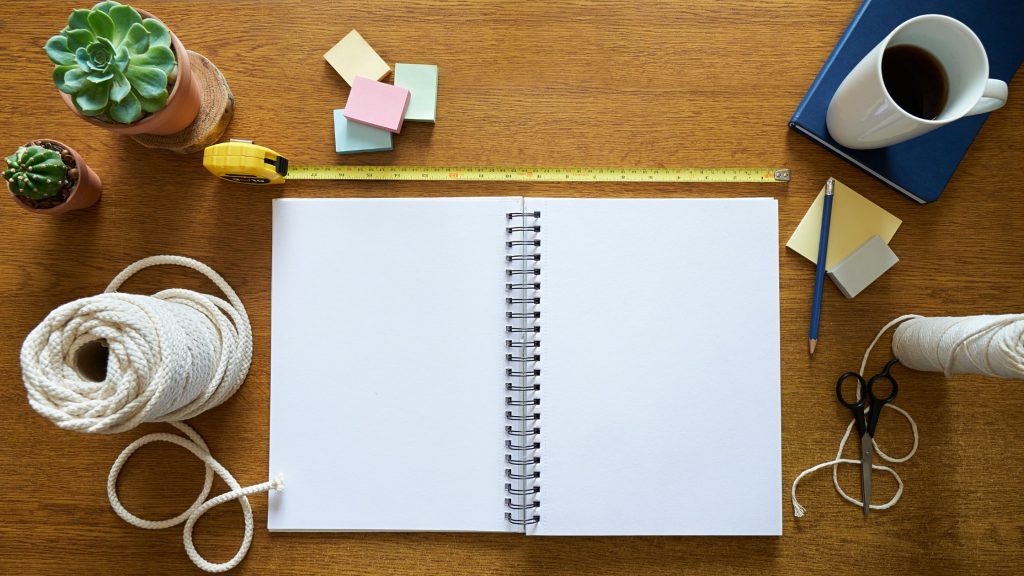
Measuring Tape
Accurate measurements are crucial in creating a macrame curtain that fits perfectly in your space. A measuring tape will help you determine the length and width of both the base and the decorative elements. Make sure to measure carefully to avoid any errors that could affect the overall design.
Comb or Brush
To achieve a polished and neat look, a comb or brush is essential. This tool will be used to straighten and untangle the rope fibers, ensuring that your macrame curtain looks professional and well-finished. It is especially helpful when working with materials like jute, which can be prone to fraying.
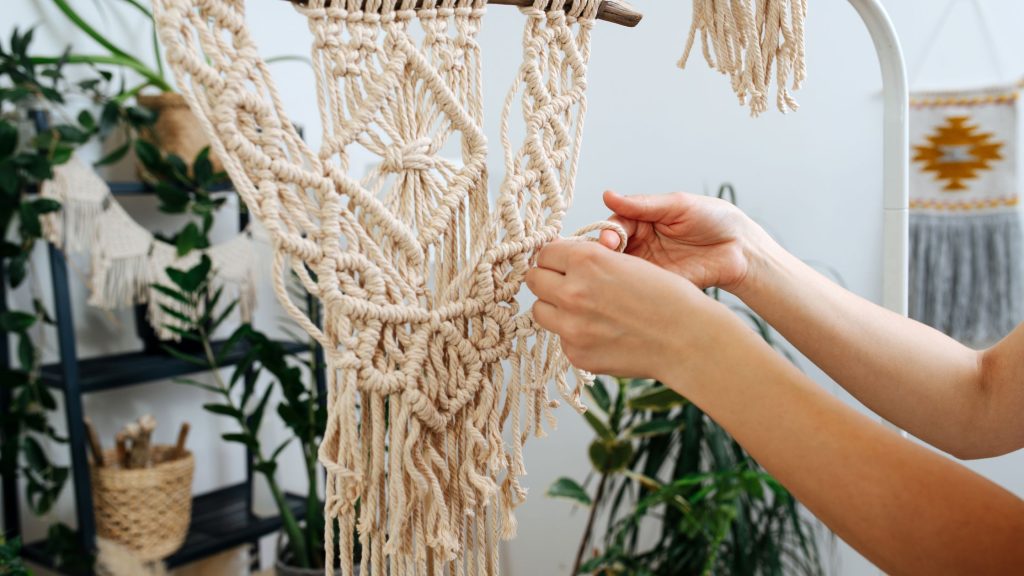
Understanding Basic Macrame Knots
Larks Head Knot
The Larks Head Knot is one of the foundational knots in macrame. This knot is used to attach the rope to your macrame board or mounting bracket before starting your project. To create a Larks Head Knot, fold the rope in half and place the loop over the board or bracket. Then, pass the loose ends of the rope through the loop and tighten it by pulling gently.
Square Knot
The Square Knot is one of the most versatile knots in macrame and is used to create various patterns and designs. To make a Square Knot, divide your ropes into two groups. Take the left group over the middle cords and then under the right group. Next, take the right group under the middle cords and through the loop created by the left group. Pull both groups tightly to create a square knot.
Half Hitch Knot
The Half Hitch Knot is a simple and easy-to-master knot that is commonly used in macrame. It is ideal for adding texture and detail to your curtain. To create a Half Hitch Knot, loop one cord over the other and pull it through the resulting loop. Repeat this process, alternating the leading cord each time, to create a series of half hitch knots.
Creating the Macrame Base
Determining the Size
Before you start creating your macrame curtain, determine the desired size of the base. Measure the width and length of the area where you plan to hang the curtain. Consider the height you want your curtain to reach and how wide you want it to be. Take into account any extra length needed for knots or decorative elements.
Preparing the Mounting Bracket
If you are using a mounting bracket, prepare it by securely attaching it to the wall or window frame. Make sure the bracket is level and can withstand the weight of the curtain. This will serve as the anchor for your macrame curtain as you work on it.
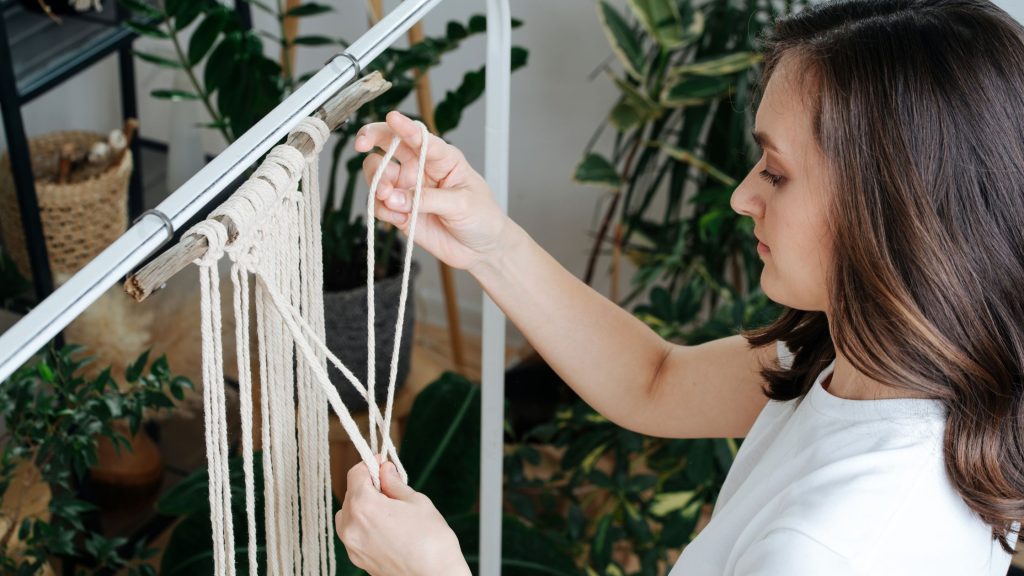
Attaching the Rope
Once you have chosen the rope and determined the size of the base, it’s time to attach the rope to your macrame board or mounting bracket. Use the Larks Head Knot to secure the rope in place. Make sure the ropes are evenly spaced and straight.
Adding Decorative Elements
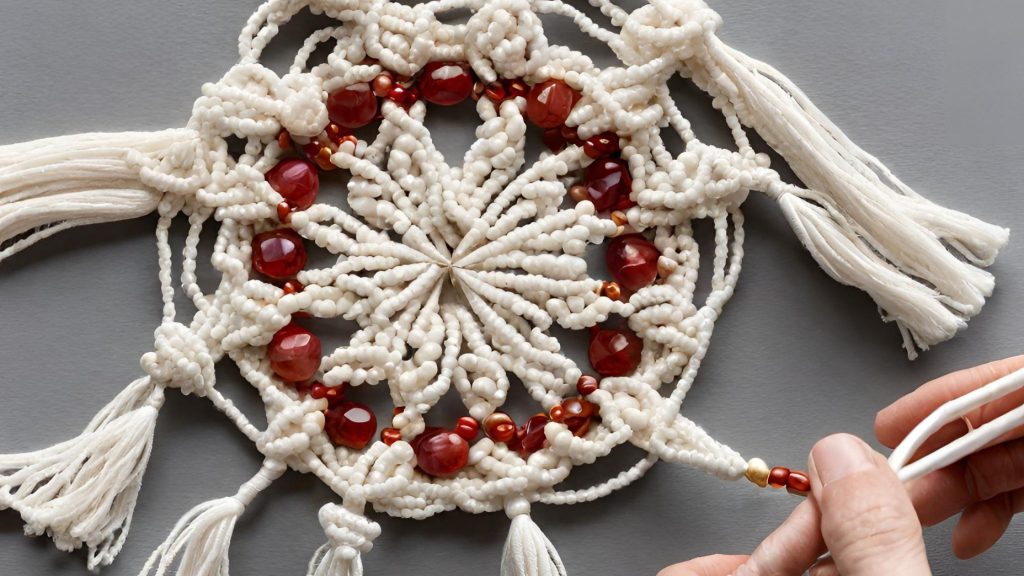
Beads
To enhance the visual appeal of your macrame curtain, consider incorporating beads. Beads can be threaded onto individual cords or added as tassels along the bottom edge of the curtain. Choose beads that complement the color scheme or add a pop of contrast to create a stunning and personalized design.
Feathers
Feathers are a popular decorative element in macrame curtains, adding a touch of nature and bohemian charm. You can attach feathers individually to certain knots or create feather patterns and motifs. Play with different sizes and colors to achieve the desired effect and create a unique focal point for your curtain.
Shells
Shells can bring a coastal or beachy vibe to your macrame curtain. You can attach larger shells as statement pieces or add smaller shells in between knots for a subtle and intricate detail. Consider using shells that are lightweight to avoid weighing down the curtain and affecting its drape.
Designing the Patterns
Sketching the Design
Before you start knotting, it’s helpful to sketch out your desired design on paper. This will give you a visual reference to follow and help you plan the placement of different knots and decorative elements. Experiment with different patterns and arrangements to find the one that best suits your style and the overall aesthetic you want to achieve.
Working with Symmetry
Symmetry is key in creating visually pleasing macrame curtain patterns. Consider dividing your curtain into equal sections and mirror the knots on either side to create balance. You can also incorporate symmetry within individual sections by repeating the same knot or design at regular intervals. Paying attention to symmetry will result in a cohesive and harmonious curtain design.
Experimenting with Different Knots
Once you have a basic understanding of macrame knots, don’t be afraid to experiment and mix different types of knots to create unique patterns. Combine Square Knots with Half Hitch Knots or incorporate alternating knots for a more intricate and textural design. Allow your creativity to flow as you explore different combinations and possibilities.
Starting the Macrame Curtain
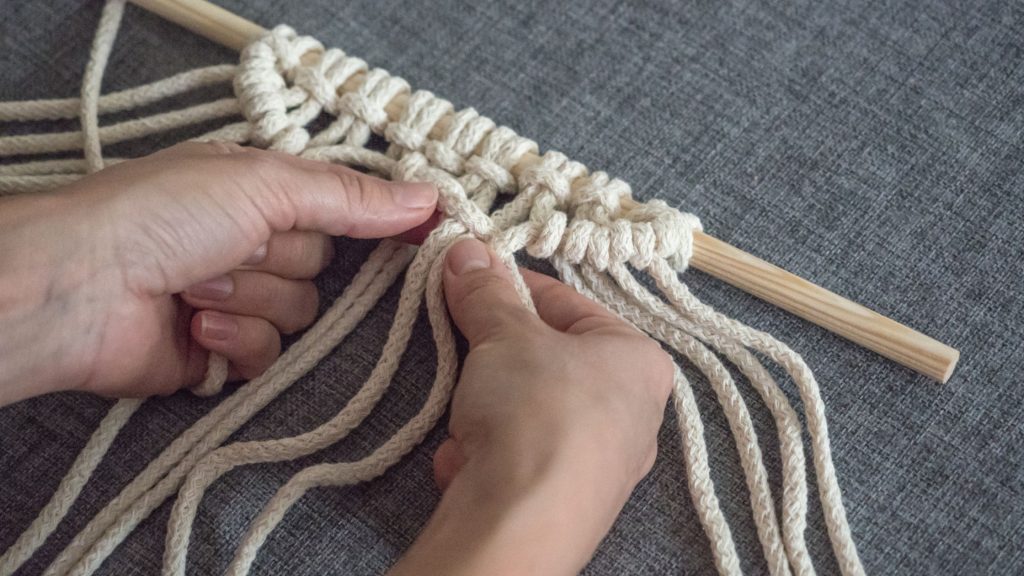
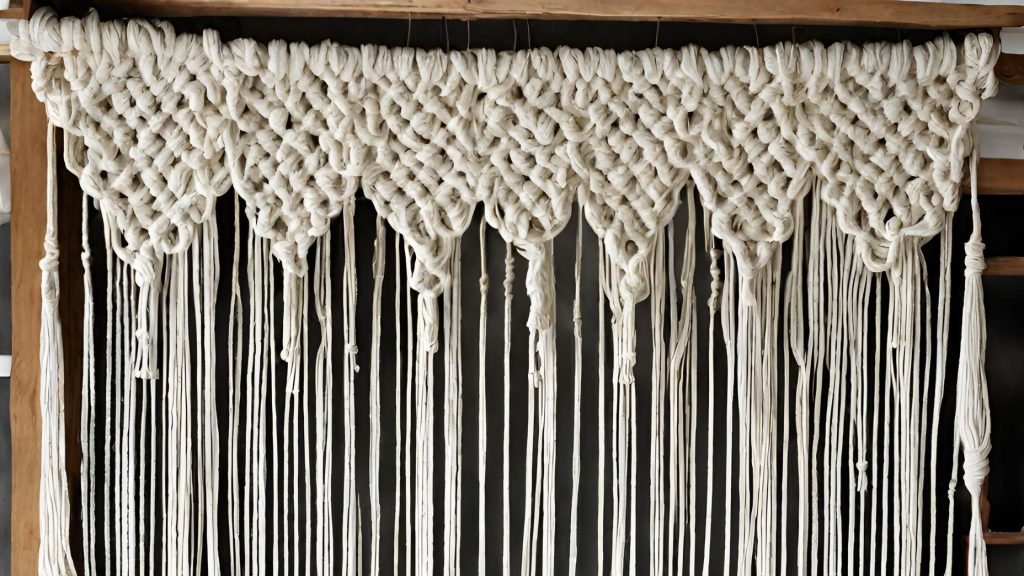
Creating the Header
The header of your macrame curtain sets the foundation for the entire piece. Start by creating a row of knots at the top of the curtain to form the header. You can use Square Knots or any other knots of your choice to achieve the desired look. Make sure the header is secure and tightly knotted to provide stability for the rest of the curtain.
Working on the Body
Once the header is complete, it’s time to move on to the body of the macrame curtain. This is where you’ll create the bulk of the design and incorporate different knots and decorative elements. Follow your design sketch and repeat the desired patterns throughout the body section. Remember to maintain consistent tension and spacing between knots for a uniform and appealing appearance.
Continuing the Macrame Curtain
Following the Pattern
As you continue working on your macrame curtain, make sure to follow the pattern you have sketched and stay consistent with your knot choices. Take breaks periodically to step back and assess your progress, ensuring that your curtain is turning out according to your vision. Adjust any knots or elements that may need tweaking along the way.
Creating Rows of Knots
To achieve a full and voluminous macrame curtain, create rows of knots as you move down from the header. This will create depth and dimension, adding visual interest to the piece. Experiment with different knot variations for each row or repeat the same knots for a more uniform appearance. Remember to maintain equal spacing and tension for a professional finish.
Finishing the Macrame Curtain
Making the Final Knots
Once you have achieved the desired length for your macrame curtain, it’s time to make the final knots. Repeat the header knot or create a similar finishing knot to secure the bottom edge. Make sure all knots are tightened and secure, providing stability and durability for your curtain.
Trimming the Excess Rope
After making the final knots, it’s common to have excess rope hanging from the bottom edge of the curtain. Use your scissors to carefully trim any excess rope, ensuring a clean and polished finish. Be cautious not to cut any of the main strands of your curtain while trimming.
Hanging and Styling the Macrame Curtain
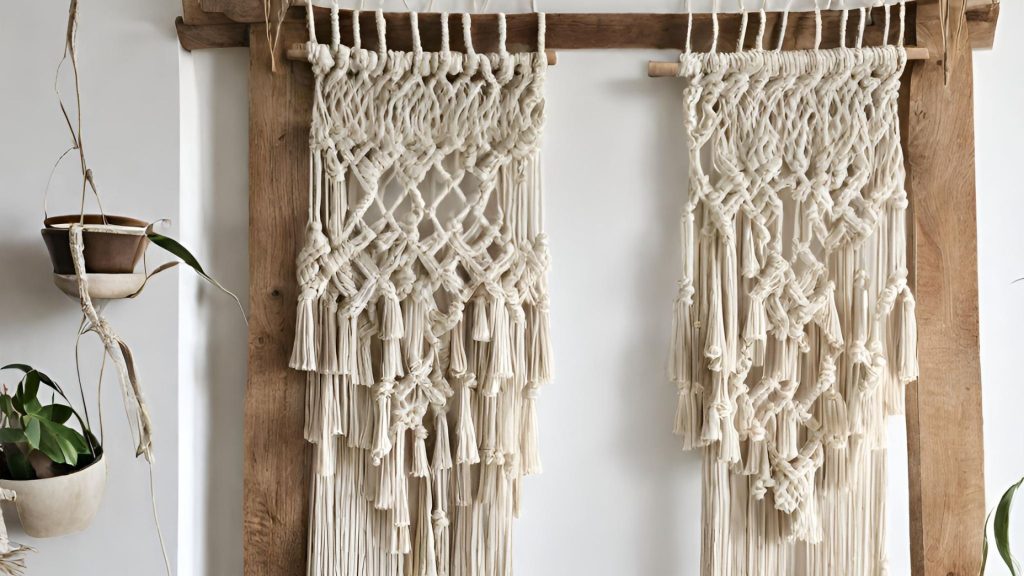
Choosing the Installation Location
Before hanging your macrame curtain, consider the best location for it in your home. Ensure that the area can accommodate the size of the curtain and that it complements the overall decor. Popular locations for macrame curtains include windows, doorways, or as room dividers to add a touch of bohemian style and texture to your space.
Attaching the Curtain
To hang your macrame curtain, carefully attach it to the mounting bracket or any other method you have chosen for installation. Make sure the curtain is level and centered in the chosen location. Adjust the length and positioning of the curtain as needed to achieve the desired look.
Styling and Adjustments
Once your macrame curtain is hung, take a step back and assess its appearance. Make any necessary adjustments to ensure that it hangs evenly and the knots are properly positioned. Style your curtain by gently arranging and separating the strands to create a balanced and visually appealing drape. Step back once more to admire your handiwork and enjoy the beautiful macrame curtain you have created.