
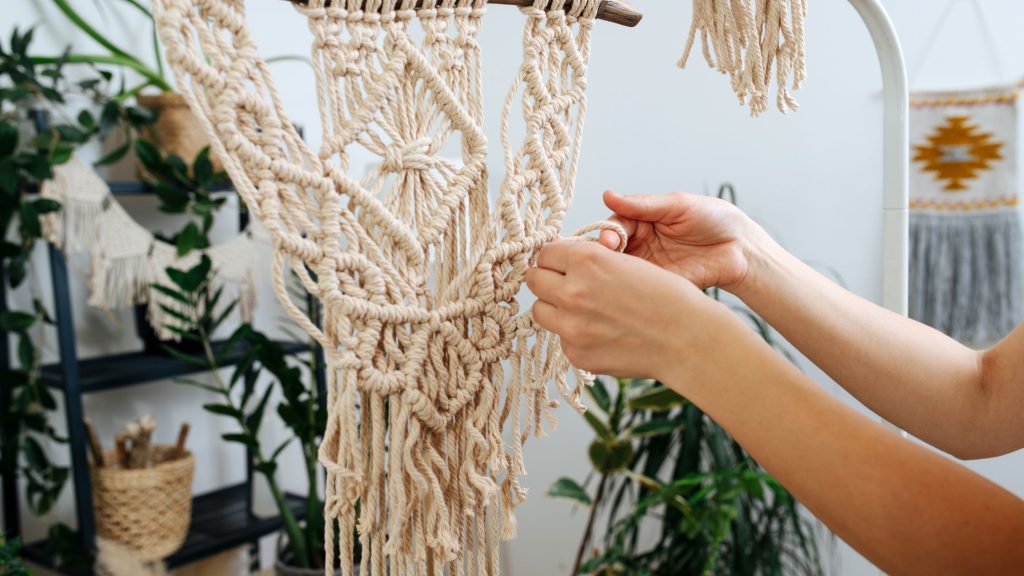
Macrame, the art of knotting cord or string to create decorative patterns, is a wonderful and fulfilling craft that allows you to flex your creative muscles. If you’ve been wanting to start your own macrame project but aren’t sure where to begin, we’ve got you covered. In this article, we will guide you through the essential steps you need to know in order to kickstart your macrame journey.
Essential Steps to Start A Macrame Project
From choosing the right materials to mastering the basic knots, you’ll be well on your way to creating beautiful macrame pieces in no time. So grab your cord and let’s get started!
Choosing the Right Macrame Pattern
When starting a macrame project, one of the first steps is to choose the right macrame pattern. There are countless patterns available, ranging from simple beginner projects to intricate and advanced designs. Researching macrame patterns is an important step, as it allows you to explore different styles and techniques, as well as find inspiration for your own creations. By spending some time browsing through macrame pattern books, websites, and social media platforms, you can get a sense of the wide variety of patterns available and find one that suits your taste and skill level.
Researching Macrame Patterns
Before diving into a macrame project, it’s essential to do some research on various macrame patterns. This step helps you understand the style and complexity of different patterns, allowing you to choose one that aligns with your preferences and skills. By exploring macrame pattern books, websites, and online tutorials, you can gain insight into different knot combinations, design elements, and decorative techniques. Additionally, looking at finished macrame projects on social media platforms like Instagram and Pinterest can provide inspiration and help you visualize the possibilities for your own work.
Considering Skill Level
When choosing a macrame pattern, it’s crucial to consider your skill level. If you’re new to macrame, starting with a simple pattern that uses basic knots can help you develop your technique and build confidence. As you gain more experience and proficiency, you can gradually progress to more complex patterns that incorporate advanced knots and intricate designs. By selecting a pattern that matches your skill level, you’ll have an enjoyable and rewarding macrame experience without feeling overwhelmed or discouraged.
Choosing a Project Based on Time and Materials
Another factor to consider when choosing a macrame pattern is the time and materials required for the project. Some patterns may be quick and easy to complete, making them ideal for beginners or individuals who have limited time available. On the other hand, more intricate patterns with detailed designs may require a significant time commitment. Additionally, certain patterns may call for specific materials or cord thicknesses, which can affect the overall look and feel of the finished piece. By considering your available time and materials, you can select a macrame pattern that fits your lifestyle and resources.
Gathering the Necessary Materials and Tools
Once you’ve chosen a macrame pattern, the next step is to gather all the necessary materials and tools. Having the right supplies ensures that you can proceed with your project smoothly and effectively.
Selecting the Right Macrame Cord
The choice of macrame cord is an essential aspect of any macrame project. Different cords have varying textures, thicknesses, and strengths, and they can significantly impact the overall appearance and durability of your macrame creation. Common types of macrame cord include cotton, jute, and nylon. Cotton cord is soft, versatile, and commonly used for a variety of macrame projects. Jute cord has a more rustic look and is often chosen for bohemian or natural-themed designs. Nylon cord is strong and durable, making it suitable for larger or outdoor projects. Consider the characteristics of each cord and choose one that complements your desired design aesthetic and project requirements.
Choosing the Ideal Macrame Board or Surface
To maintain tension and make knotting easier, it’s essential to have a suitable macrame board or surface to work on. These tools prevent cords from tangling and provide a stable foundation for your macrame project. There are various options available, including wooden macrame boards, foam boards, and even clipboards. Consider the size and portability of the board or surface, as well as its compatibility with your workspace, to choose the ideal one for your needs.
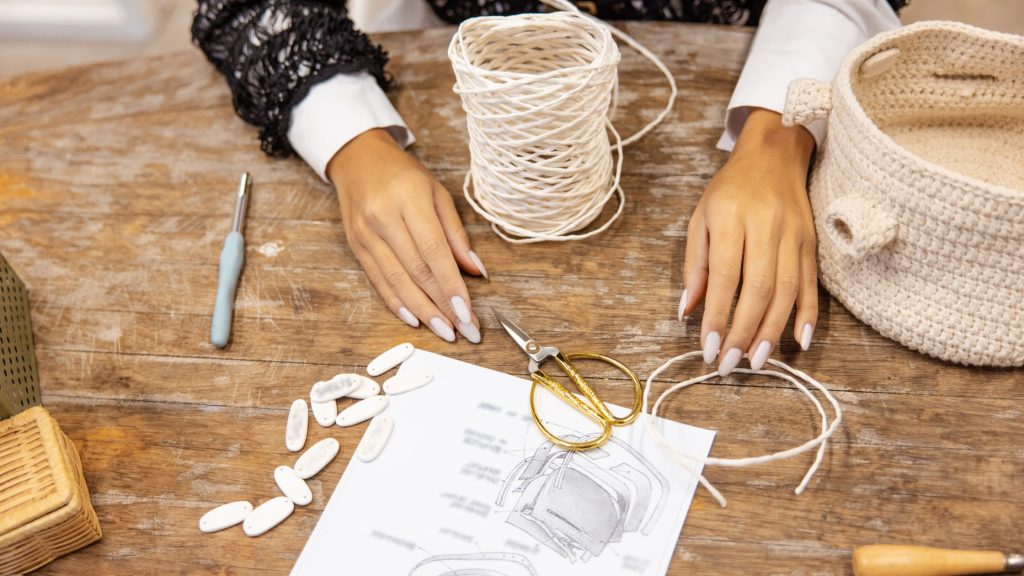
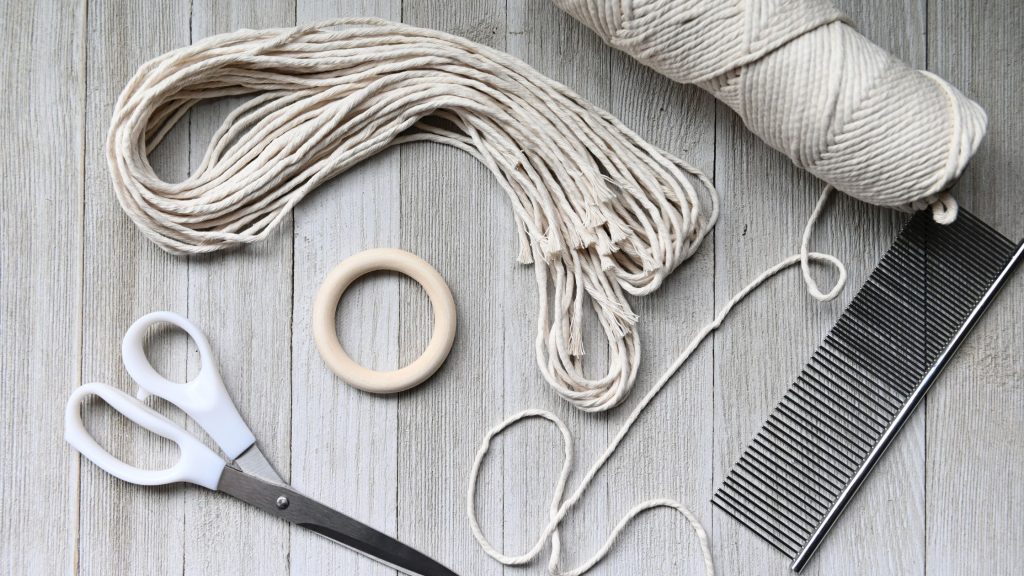
Acquiring Essential Macrame Tools
In addition to cord and a suitable surface, there are several tools that can enhance your macrame experience. Some essential macrame tools include scissors for cutting cord, a tape measure or macrame cord gauge for measuring lengths accurately, and a comb or brush for unraveling or separating cord strands. These tools ensure precision and efficiency throughout your macrame project, helping you achieve clean and professional-looking results.
Sourcing Additional Embellishments and Decorative Elements
Depending on your chosen macrame pattern, you may want to incorporate additional embellishments or decorative elements into your project. Beads, shells, feathers, or colorful threads and yarns can add personality and uniqueness to your macrame creation. Consider the aesthetic and theme of your pattern, and source these additional materials accordingly. Craft stores, online marketplaces, and specialty macrame suppliers are excellent sources for finding a wide range of embellishments and decorative elements to enhance your project.
Preparing the Workspace
Before diving into your macrame project, it’s important to prepare your workspace properly. A well-organized and clutter-free work area contributes to a comfortable and enjoyable macrame experience.
Clearing and Cleaning the Workspace
Start by clearing your workspace of any unnecessary items or clutter. This creates a clean and uncluttered environment, allowing you to focus on your macrame project without any distractions. Remove any items that may obstruct your movement or impede your ability to work with cords and tools effectively.
Setting Up a Comfortable Work Area
Next, set up your work area in a way that promotes comfort and ergonomics. Consider factors such as lighting, seating, and posture. Adequate lighting helps you see the intricate details of your work, ensuring accuracy and precision. Choose a comfortable chair or stool that supports good posture and minimizes strain on your back and neck. Adjust the height of your workspace or chair, if possible, to ensure that you can work comfortably without straining your arms or shoulders.
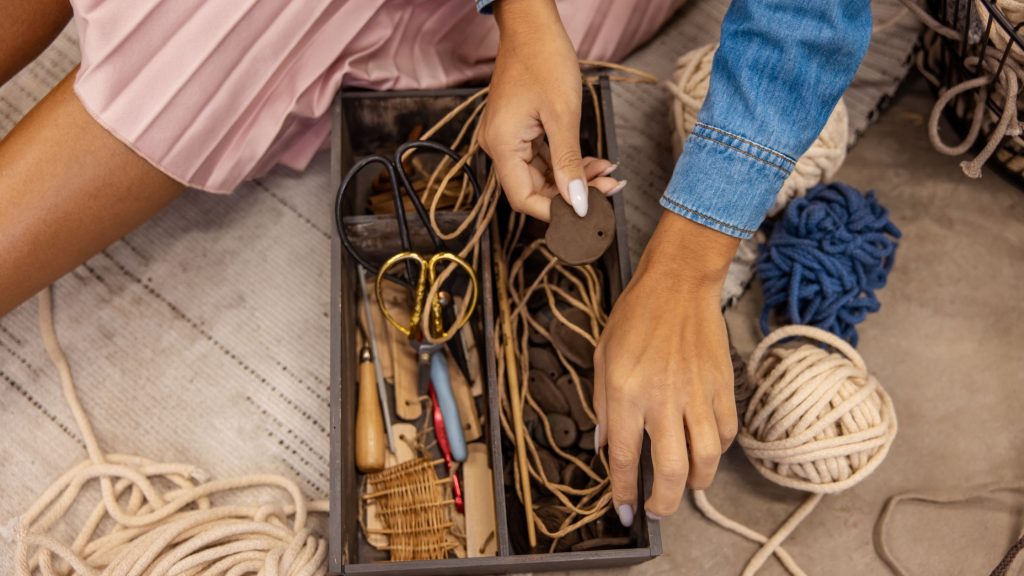
Gathering and Organizing Materials and Tools
Before starting your macrame project, gather all your materials and tools within easy reach of your workspace. This includes macrame cord, scissors, measuring tape or cord gauge, and any additional embellishments or decorations you plan to use. Organize your materials in a tidy and systematic way, such as using containers, trays, or compartments, to keep everything easily accessible and prevent any unnecessary searching or confusion during the project.
Understanding Macrame Knots and Techniques
To create beautiful macrame designs, it’s important to have a solid understanding of macrame knots and techniques. Learning and practicing these fundamental skills is crucial for success in macrame projects.
Learning Fundamental Knots
Begin by familiarizing yourself with the most common macrame knots, including the square knot, half square knot, double half hitch, and spiral knot. These knots form the foundation of many macrame patterns and can be combined in various ways to create different textures and patterns. Take your time to practice each knot individually, ensuring that you can execute them accurately and with consistency. As you become more confident, practice combining knots to create more intricate designs.
Exploring Various Macrame Techniques
In addition to individual knots, there are various macrame techniques that you can explore and incorporate into your projects. Techniques like macrame braiding, macrame wrapping, and macrame weaving can add dimension and visual interest to your designs. Research and experiment with these techniques to expand your macrame skills and create unique and captivating pieces.
Practicing Knots and Patterns
To build proficiency and confidence in macrame, it’s crucial to practice knots and patterns regularly. Set aside dedicated practice sessions to hone your skills and familiarize yourself with different knot combinations. You can create small swatches or mini projects specifically for practicing knots and techniques. This allows you to experiment, make mistakes, and learn from them without the pressure of working on a final project. Regular practice helps improve muscle memory, increases speed, and enhances your overall macrame ability.
Measuring and Cutting Macrame Cord
Accurate measurement and cutting of macrame cord are essential for achieving the desired length and look of your project. Properly measuring and accounting for knots and fringe ensures a balanced and aesthetically pleasing macrame creation.
Determining the Desired Length of Cord
Start by measuring the desired length of cord for your macrame project. Consider the finished size and shape of your design, as well as any additional length needed for hanging or displaying purposes. It’s always better to have more cord than less, as you can trim any excess later.
Accounting for Knots and Fringe
When measuring macrame cord, it’s important to account for the length that will be taken up by knots and fringe. Different knots and patterns require varying amounts of cord, so take this into consideration when determining the length of cord needed. Additionally, consider whether you want a long or short fringe and adjust your measurements accordingly.
Using a Measuring Tape or a Macrame Cord Gauge
To ensure accurate measurements, use a measuring tape or macrame cord gauge. These tools help you measure the cord precisely and consistently, resulting in even knotting and a well-proportioned macrame design. Using a measuring tape or cord gauge also allows you to replicate the same measurements for multiple strands, ensuring uniformity throughout your project.
Cutting Multiple Strands at Once
If your macrame pattern requires multiple strands of cord, cutting them at once can save time and ensure consistent lengths. Bundle the cords together, ensuring they’re aligned and not twisted or tangled. Use sharp scissors to cut the cords simultaneously, making clean and precise cuts. Pay attention to the angle of the cut, as a straight and even edge is important for achieving a professional finish.
Creating a Macrame Foundation
To begin your macrame project, you need to create a solid foundation. This foundation sets the stage for the rest of the project and ensures that the knots are secure and aligned properly.
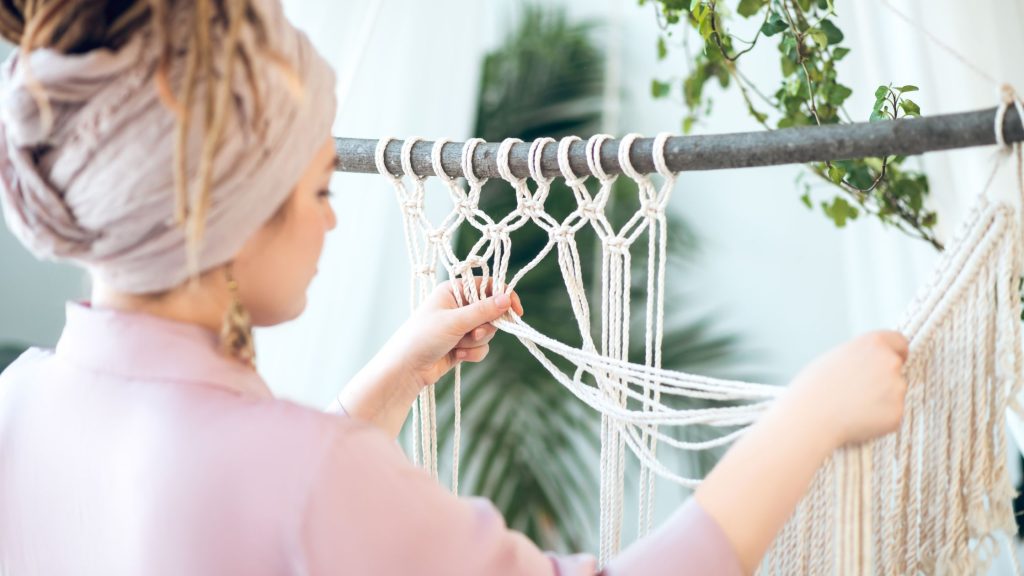
Securing the Starting Point
To secure the starting point of your macrame project, you have several options. One common method is to tie an anchor knot, such as a lark’s head knot, around a dowel or ring. Another method is to use a temporary knot, like a simple overhand knot or a half knot, which can be undone later. Choose a starting point that suits your design and provides stability and security throughout the project.
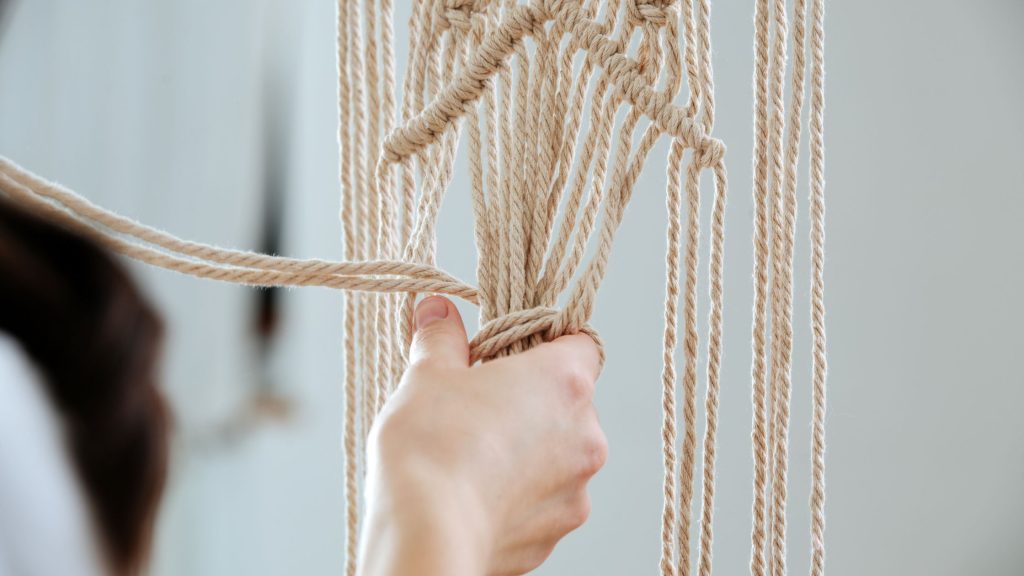
Creating the First Row of Knots
Once you’ve secured the starting point, it’s time to create the first row of knots. Refer to your chosen macrame pattern for the specific knot sequence and placement. Take your time to ensure each knot is executed correctly and consistently, maintaining an even tension throughout. This helps create a uniform and visually appealing row of knots, setting the stage for the rest of your macrame project.
Maintaining Tension and Consistency
Throughout the creation of your macrame project, it’s important to maintain tension and consistency in your knots. Keeping a steady and even tension ensures that the design remains balanced and doesn’t become warped or uneven. Consistency in knot size, placement, and tightness creates a polished and professional-looking macrame piece. Take breaks when needed to relax your hands and avoid hand fatigue, as this can affect your ability to maintain tension and consistency.
Adding Design Elements and Variations
To personalize your macrame project and add visual interest, consider incorporating design elements and variations into your work. These elements can elevate your macrame creation from a basic design to a unique and eye-catching piece of art.
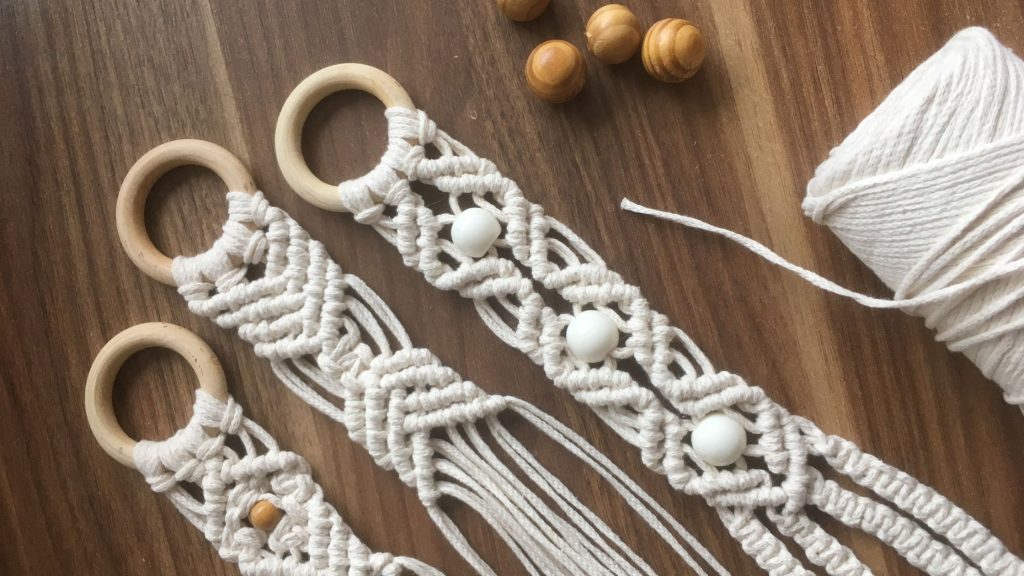
Incorporating Beads, Shells, or Other Decorations
One way to embellish your macrame project is by incorporating beads, shells, or other decorative elements. These additions can provide texture, color, and a personalized touch to your design. Experiment with different bead sizes, shapes, and materials to find the perfect combination that complements your macrame pattern and enhances its overall aesthetic.
Experimenting with Different Knot Combinations
Another way to add variety and visual interest to your macrame project is by experimenting with different knot combinations. By combining various knots in unique ways, you can create intricate patterns, textures, and designs. Branch out from your basic knots and explore more complex knotting techniques to achieve stunning and intricate macrame creations.
Integrating Colorful Threads or Yarns
In addition to knots and decorative elements, incorporating colorful threads or yarns is an excellent way to bring vibrancy and personality to your macrame project. Use contrasting or complementary colors to create patterns or accentuate specific sections of your design. Colorful threads or yarns can be woven into the macrame knots or used to create tassels or fringe, adding an extra pop of color and visual interest.
Finishing and Securing Macrame Work
As you near the completion of your macrame project, it’s important to finish and secure your work properly. This ensures that your knots remain secure and your design maintains its intended shape and appearance.
Creating a Clean and Neat Fringe
If your macrame design includes a fringe, creating a clean and neat fringe is essential. Trim the cords evenly to the desired length, ensuring that they’re uniform and straight. Comb or brush the fringe to separate and fluff the individual strands, creating a tangle-free and visually appealing fringe. Take care not to cut the fringe too short, as it can affect the overall look of the macrame piece.
Securing the Knots at the End
To secure the knots at the end of your macrame project, you have several options. One common method is to tie a finishing knot, such as an overhand knot or square knot, to prevent the cords from unraveling. Another option is to use a dab of fabric glue or clear nail polish to secure the knots. Choose a method that aligns with your design aesthetic and provides long-lasting durability.
Weaving in Loose Ends and Concealing Excess Cord
After securing the knots, weave in any loose ends or excess cords to create a clean and polished finish. Use a tapestry needle or a crochet hook to carefully weave the loose ends into nearby knots, concealing them neatly. This step not only ensures a tidy appearance but also prevents any loose cords from coming undone over time.
Trimming and Shaping Macrame Design
Once your macrame project is complete, you may need to trim and shape it to achieve the desired final appearance. Trimming excess cord and fringe helps create clean lines, enhance the design’s overall shape, and remove any uneven or unwanted elements.
Trimming Excess Cord and Fringe
If your macrame design has excess cord or fringe, carefully trim it to the desired length using sharp scissors. Take your time and trim small sections at a time to avoid cutting too much or making uneven cuts. Keep referring to your macrame pattern or design vision to ensure that you achieve the desired look.
Shaping the Macrame Creation
In addition to trimming, shaping your macrame creation can help enhance its appearance and ensure that it hangs or displays properly. Gently manipulate the cords, knots, and fringe to achieve the desired shape. You can use your hands or a comb to guide and shape the cords, allowing gravity and the nature of the materials to influence the final result. Be patient and make adjustments as needed until you’re satisfied with the overall shape and form of your macrame artwork.
Adding Hanging or Displaying Options

Once you’ve finished trimming and shaping your macrame project, it’s time to consider how you’ll hang or display it. Depending on the design and size of your creation, there are various options for showcasing your macrame artwork.
Attaching a Hanging Ring or Loop
For smaller macrame pieces, attaching a hanging ring or loop can provide a simple and effective way to hang your artwork. This can be achieved by tying a knot or creating a loop with a separate piece of cord at the top of your macrame design. Ensure that the hanging ring or loop is securely attached and can support the weight of your macrame artwork.
Mounting Macrame Design on Different Surfaces
For larger or more elaborate macrame creations, mounting them on different surfaces can create a stunning display. This can include mounting on wooden dowels, driftwood, or even metal frames. Choose a mounting option that complements your macrame design and enhances its visual impact. Ensure that the chosen surface is strong and secure enough to support the weight of your macrame creation.
Exploring Alternative Hanging Methods
If you’re feeling more adventurous, explore alternative hanging methods to showcase your macrame design. This can include using decorative hooks, attaching the macrame piece to a tension rod, or suspending it from a ceiling-mounted hook. The choice of hanging method depends on your creative vision and the suitability of your space.
Conclusion
By following these essential steps, you’re well on your way to starting and completing a successful macrame project. Remember to choose the right macrame pattern, gather the necessary materials and tools, prepare your workspace, understand macrame knots and techniques, measure and cut cord accurately, create a solid foundation, add design elements and variations, finish and secure your work, trim and shape your macrame design, and consider different hanging or displaying options. Enjoy the journey of creating beautiful and unique macrame artwork that reflects your style and creativity. Happy knotting!