
Are you a beginner in the art of macrame, eager to create stunning and intricate designs with just a few simple techniques? Look no further! In this article, we will explore the essential macrame techniques that every beginner should know. From the basic knots to creating beautiful patterns, we will guide you through the steps to help you unleash your creativity and embark on a delightful macrame journey. So grab your cords and let’s get started!
Essential Macrame Techniques For Beginners
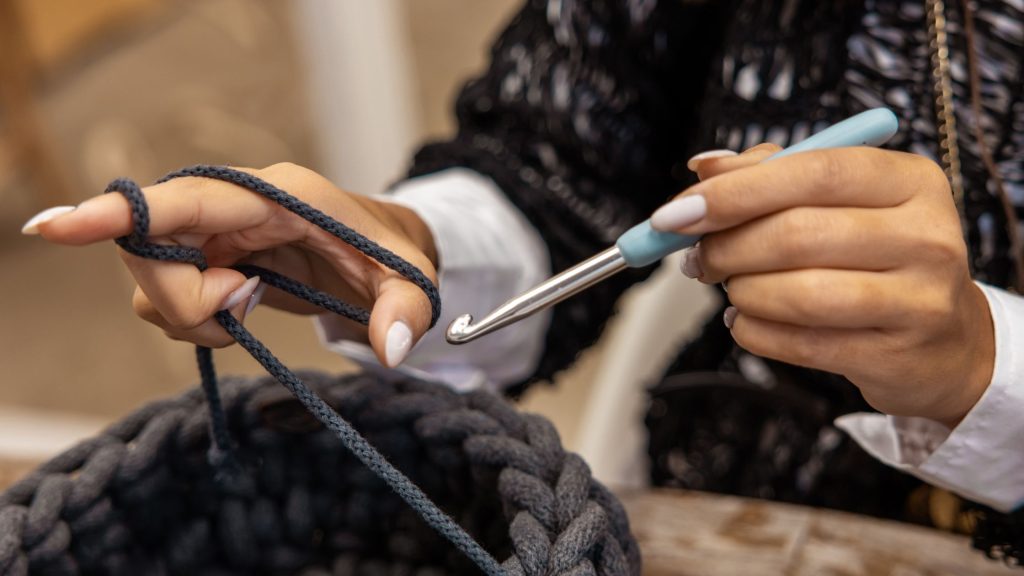
If you’re new to macrame, you may be wondering what the essential techniques are to get started. Macrame is a beautiful art form that involves using knots and various techniques to create stunning and intricate designs. In this article, we will go over some of the key macrame techniques that every beginner should learn. By mastering these techniques, you’ll be well-equipped to create your macrame masterpieces.
Knots
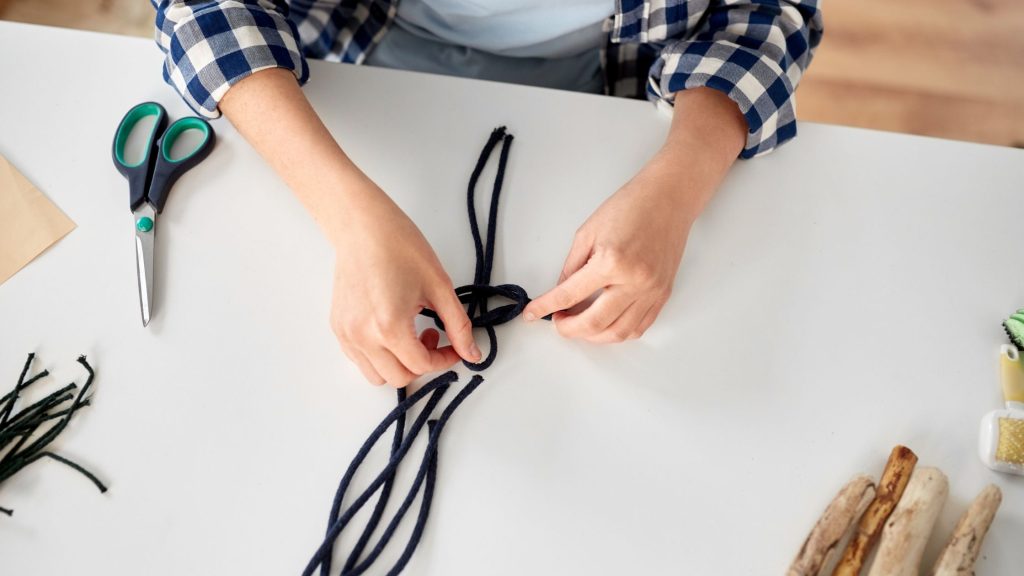
Knots are the foundation of macrame. There are many different types of knots that you can use in macrame, but three of the most commonly used ones are the square knot, half square knot, and double half hitch knot.
Square Knot
The square knot is one of the most basic and versatile knots in macrame. It is created by crossing two sets of cords and alternating their positions. To make a square knot, you simply take the left cord and cross it over the center cords, then take the right cord and cross it over the left cord, going under the center cords, and through the loop created by the left cord. This knot can be used to create a variety of patterns and designs.
Half Square Knot
The half square knot is similar to the square knot, but instead of crossing the cords over each other, you simply tie a basic knot with two cords. To make a half square knot, you take the left cord and cross it over the center cords, then take the right cord and cross it over the left cord, going under the center cords. This creates a simple knot that can be used to create decorative patterns and textures in your macrame projects.
Double Half Hitch Knot
The double half hitch knot is another essential macrame knot. It is created by making two half hitch knots with the same working cord. To make a double half hitch knot, you start with a working cord and wrap it around the anchor cords twice, creating two loops. Then, you take the working cord over the anchor cords and through the loops you created, pulling it tight to secure the knot. This knot is commonly used to create diagonal lines and decorative patterns in macrame.
Wrapping
Wrapping is among essential macrame techniques that involve using cords to wrap around other cords or objects. It can be used to create decorative accents and to secure cords in place. Two popular wrapping techniques in macrame are the lark’s head wrap and the spiral wrap.
Lark’s Head Wrap
The lark’s head wrap is a simple yet effective wrapping technique. It is created by folding a cord in half and placing the folded end over another cord or object. Then, you bring the loose ends of the cord up and through the loop created by the folded end, pulling it tight to secure the wrap. This technique can be used to attach cords to dowels or rings and to create hanging loops in your macrame projects.
Spiral Wrap
The spiral wrap is a decorative wrapping technique that can add texture and visual interest to your macrame designs. It is created by wrapping a cord around another cord or object in a spiral pattern. To make a spiral wrap, you start by wrapping the cord around the anchor cord at an angle, then continue wrapping it around in a spiral motion, pulling it tight as you go. This technique is commonly used to create decorative accents and to add a unique touch to macrame wall hangings and plant hangers.
Looping
Looping is another important macrame technique that involves creating loops or rings with cords. It can be used to create hanging loops, and decorative accents, and to attach macrame pieces. Two popular looping techniques in macrame are the Josephine knot and the clove hitch loop.
Josephine Knot
The Josephine knot is a beautiful and intricate looping technique. It is created by making a loop with a cord and then passing the ends of the cord through the loop multiple times to create a knot. To make a Josephine knot, you start by creating a loop with a cord and then passing the ends of the cord through the loop from front to back. You repeat this process multiple times to create a series of knots and then adjust the tension to create the desired shape. This technique can be used to create decorative accents or to create loops for hanging macrame pieces.
Clove Hitch Loop
The clove hitch loop is a simple and versatile looping technique. It is created by making a loop with a cord and then passing the ends of the cord through the loop, crossing them over each other. To make a clove hitch loop, you start by creating a loop with a cord and then pass the ends of the cord through the loop, crossing them over each other. This creates a secure loop that can be used to hang macrame pieces or to create decorative accents.
Twisting
Twisting is also among the essential macrame techniques that involve creating spirals or twists in the cords. It can be used to add texture and visual interest to your macrame designs. Two popular twisting techniques in macrame are the spiral twist and the half-knot spiral twist.
Spiral Twist
The spiral twist is a simple and effective twisting technique. It is created by taking two cords and twisting them together in a spiral motion. To make a spiral twist, you start by taking two cords and twisting them together in one direction. Then, you continue twisting the cords until they form a spiral shape. This technique can be used to create decorative accents and to add a unique touch to your macrame projects.
Half Knot Spiral Twist
The half knot spiral twist is a variation of the spiral twist technique. It is created by making half knot knots while twisting the cords together. To make a half knot spiral twist, you start by taking two cords and twisting them together in one direction. Then, you tie a half knot knot by crossing the left cord over the center cords, then bringing the right cord over the left cord, going under the center cords, and through the loop created by the left cord. You repeat this process while continuing to twist the cords together to create a spiral twist with knots. This technique can be used to create decorative patterns and to add texture to your macrame projects.
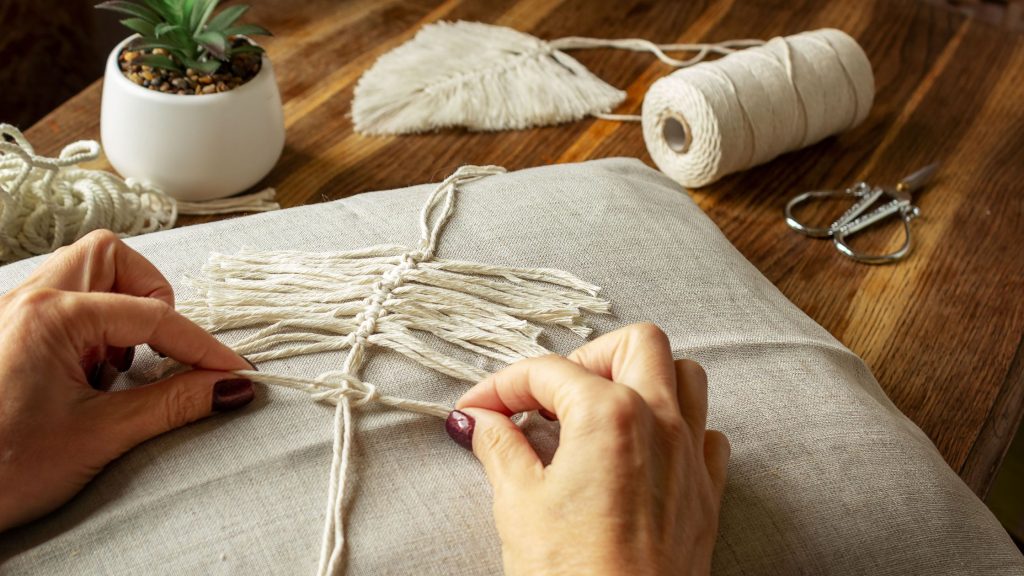
Weaving
Weaving is a macrame technique that involves interlacing cords to create patterns and designs. It can be used to create wall hangings, plant hangers, and other intricate macrame projects. Two popular weaving techniques in macrame are the woven wall hanging and the woven plant hanger.
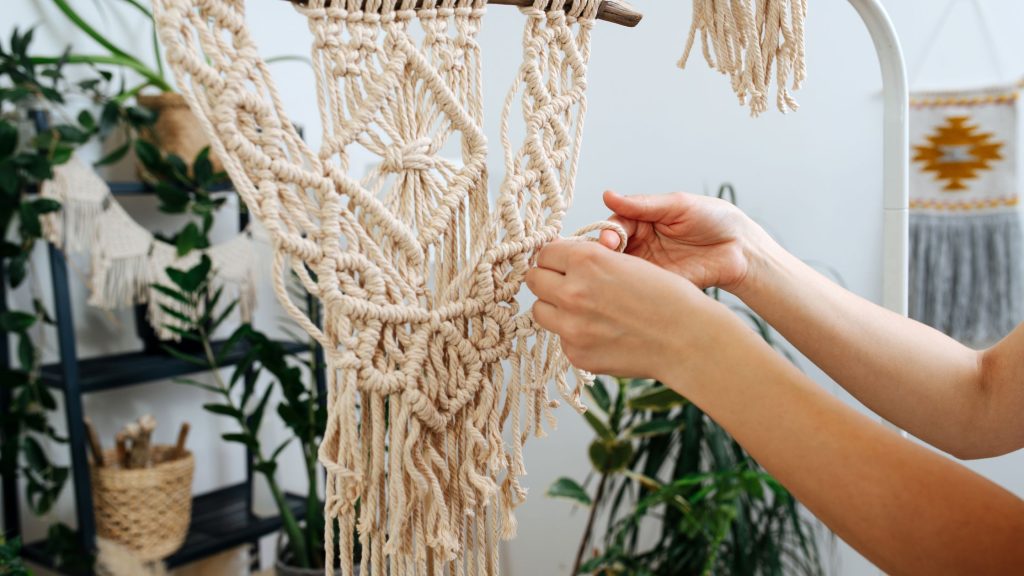
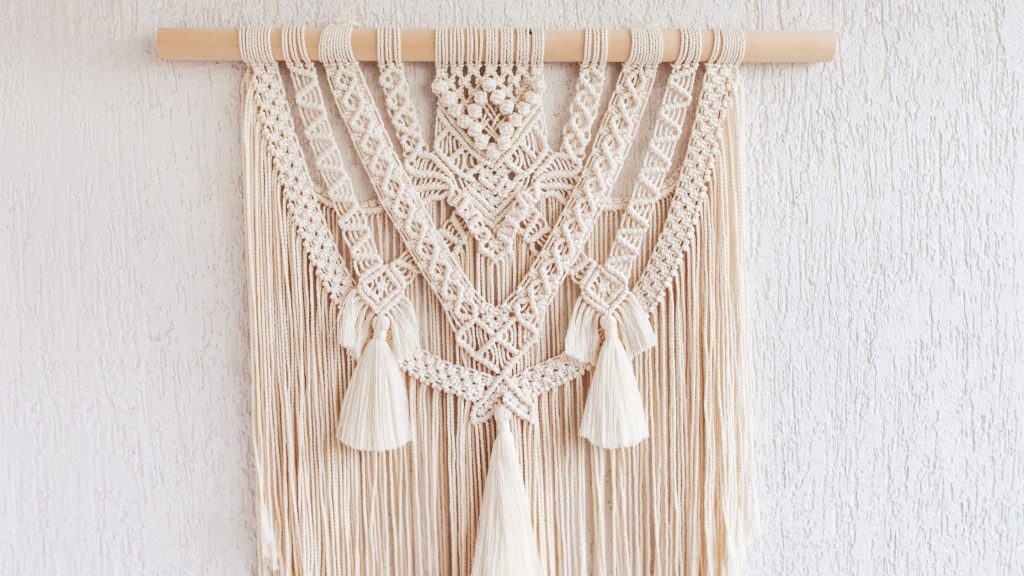
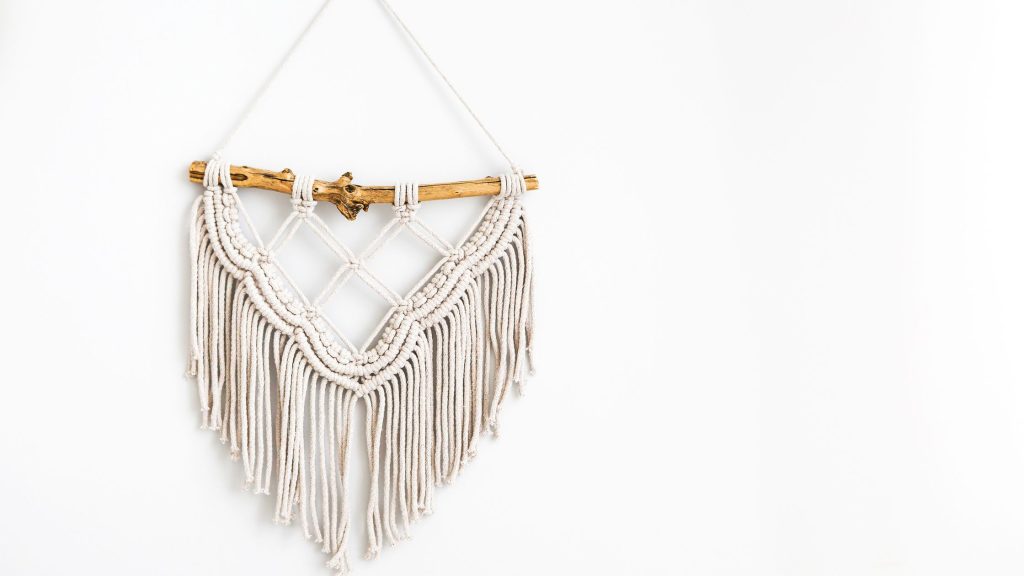
Woven Wall Hanging
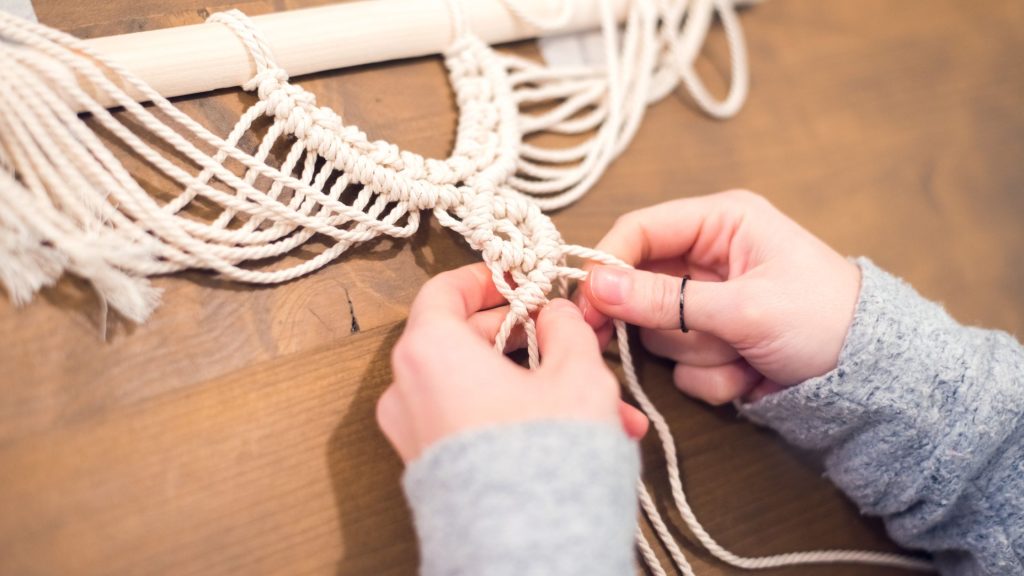
The woven wall hanging is a popular macrame project that involves weaving cords through a base cord to create a pattern or design. To make a woven wall hanging, you start by attaching a base cord to a dowel or a rod. Then, you take individual cords and weave them over and under the base cord in a pattern or design of your choice. As you weave the cords, you can create different patterns and textures by varying the spacing and direction of the cords. This technique allows you to create beautiful and intricate wall hangings that can be customized to suit your style.
Woven Plant Hanger
The woven plant hanger is another popular macrame project that involves weaving cords to create a holder for a plant pot. To make a woven plant hanger, you start by attaching multiple cords to a ring or a base cord. Then, you weave the cords in a pattern or design of your choice, creating a secure holder for a plant pot. As you weave the cords, you can create different patterns and textures to add visual interest to your plant hanger. This technique allows you to showcase your plants in a unique and stylish way.
Fringing
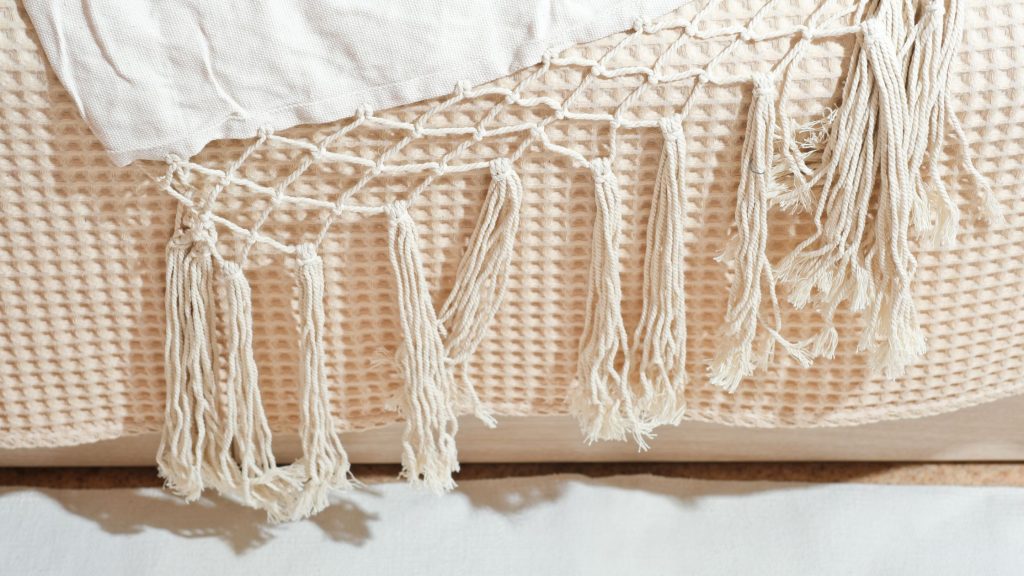
Fringing is a macrame technique that involves adding fringes to the ends of cords or fabric. It can be used to add a decorative touch to your macrame projects. Two popular fringing techniques in macrame are the basic fringe and the alternating fringe.
Basic Fringe
The basic fringe is a simple and versatile fringing technique. It is created by cutting the ends of cords or fabric to create a fringe. To make a basic fringe, you start by measuring and marking the desired length of the fringe on the cords or fabric. Then, you cut the ends of the cords or fabric using scissors, creating a straight fringe. This technique can be used to add a decorative touch to the ends of macrame wall hangings, plant hangers, or other projects.
Alternating Fringe
The alternating fringe is a variation of the basic fringe technique. It is created by cutting the ends of cords or fabric at different lengths to create an alternating fringe. To make an alternating fringe, you start by measuring and marking the desired lengths of the fringe on the cords or fabric. Then, you cut the ends of the cords or fabric at the marked lengths, creating an alternating pattern. This technique can be used to add visual interest and texture to your macrame projects.
Braiding
Braiding is a macrame technique that involves intertwining multiple cords to create a thicker and stronger cord. It can be used to create handles, straps, and decorative accents in your macrame projects. Two popular braiding techniques in macrame are the twisted cord and the four-strand braid.
Twisted Cord
The twisted cord is a simple and versatile braiding technique. It is created by taking two or more cords and twisting them together in one direction. To make a twisted cord, you start by taking two cords and twisting them together in one direction. Then, you continue twisting the cords until they form a tight and sturdy cord. This technique can be used to create handles, straps, or decorative accents in your macrame projects.
Four-Strand Braid
The four-strand braid is a more complex braiding technique that creates a thicker and more intricate cord. It is created by intertwining four cords in a specific pattern. To make a four-strand braid, you start by arranging four cords in an X shape, with two cords on the left and two cords on the right. Then, you take the cord on the far right side and cross it over the cord immediately to its left. You repeat this process, alternating sides, until you reach the end of the cords. This technique can be used to create decorative accents or to add strength and durability to your macrame projects.
Combining Techniques
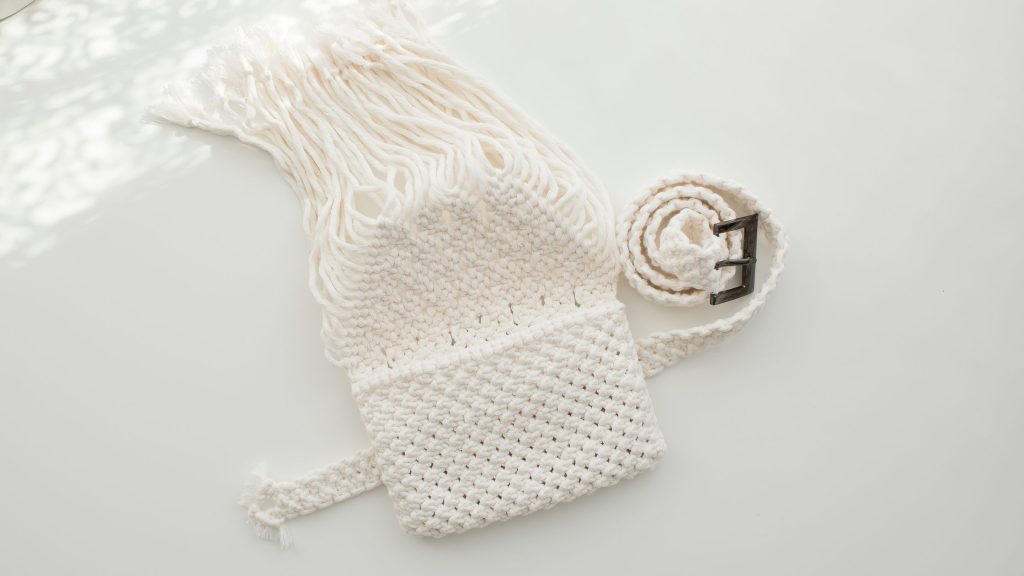
Once you’ve mastered the basic macrame techniques, you can start combining them to create more complex and unique designs. Combining techniques allows you to unleash your creativity and create one-of-a-kind macrame pieces. Two popular projects that involve combining techniques are the macrame bracelet and the macrame keychain.
Macrame Bracelet
The macrame bracelet is a stylish and trendy accessory that combines various macrame techniques. It is typically made using a combination of knots, braids, and loops to create a unique and personalized bracelet. You can experiment with different colors, patterns, and textures to create a bracelet that reflects your style and personality. This project is a great way to showcase your macrame skills and create a wearable piece of art.
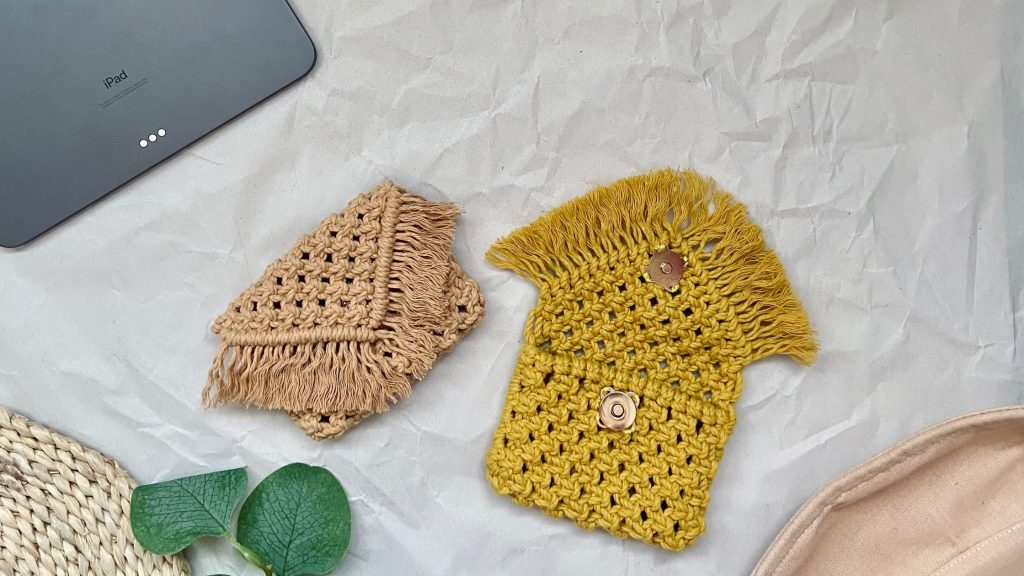
Macrame Keychain
The macrame keychain is a practical and decorative item that can be made using a combination of macrame techniques. It typically involves using knots, loops, and fringes to create a keychain that is both functional and visually appealing. You can experiment with different designs and colors to create a keychain that stands out and adds a touch of uniqueness to your keys. This project is a fun and easy way to practice your macrame skills and create a useful item.
Design Tips
When creating macrame projects, it’s important to consider design elements such as colors and beads. These elements can enhance the overall aesthetic of your macrame pieces and make them truly stand out.
Choosing Colors
Choosing the right colors for your macrame projects can make a big difference in the final result. You can opt for a monochromatic color scheme, where you use shades of the same color, or you can experiment with contrasting colors to create a bold and vibrant look. Consider the atmosphere you want to create with your macrame piece and choose colors that reflect that mood. Don’t be afraid to mix and match colors to create a unique and personal design.
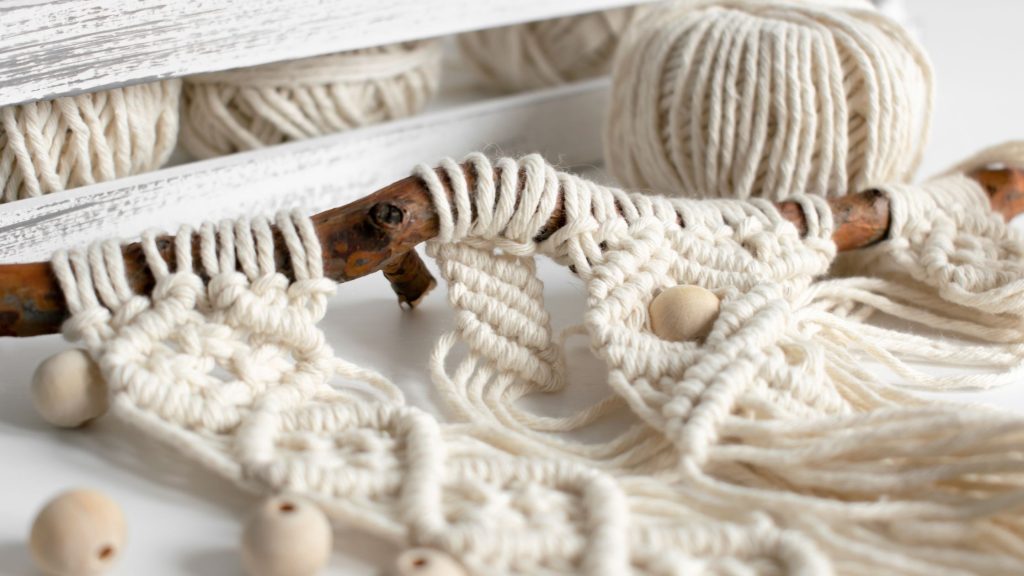
Adding Beads
Adding beads to your macrame projects can add an extra dimension and visual interest. Beads come in various shapes, sizes, and materials, allowing you to customize your macrame pieces to your liking. You can incorporate beads into your knots, loops, or braids to create intricate patterns or simply use them as decorative accents. Beads can add a touch of elegance and sophistication to your macrame designs, so don’t hesitate to experiment with different bead options and placements.
Troubleshooting
Being a beginner in macrame, it’s natural to encounter some issues along the way. Here are two common troubleshooting tips to help you overcome obstacles in your macrame journey.
Untangling Mistakes
Making mistakes is part of the learning process in macrame, and one common issue beginners face is getting their cords tangled. If you find yourself with a tangled mess, don’t panic. Take a deep breath and start by identifying the knots or areas that need to be untangled. You can use your fingers or a comb to gently tease apart the cords. Take your time and be patient, as rushing can lead to further tangles. With a little effort and patience, you’ll be able to untangle your cords and continue on with your macrame project.
Fixing Loose Knots
Another common issue in macrame is having loose knots that don’t hold their shape or come undone. To fix loose knots, start by identifying the loose cords and where the knot needs adjustment. Retie the knot, making sure to pull the cords tight and secure. You can also add a drop of fabric glue or clear nail polish to the knot for extra security. With practice, you’ll develop a sense of how tight to tie your knots, ensuring they remain secure and in place.
Conclusion
In conclusion, learning the essential macrame techniques is the first step towards becoming a skilled macrame artist. By mastering knots, wrapping, looping, twisting, weaving, fringing, braiding, and combining techniques, you’ll have the foundation to create beautiful and intricate macrame designs. Remember to consider design elements such as colors and beads to enhance the aesthetic of your projects. And don’t forget that mistakes and obstacles are part of the learning process, so stay patient and persistent. With time and practice, you’ll be able to create stunning macrame pieces that showcase your creativity and craftsmanship. Happy knotting!