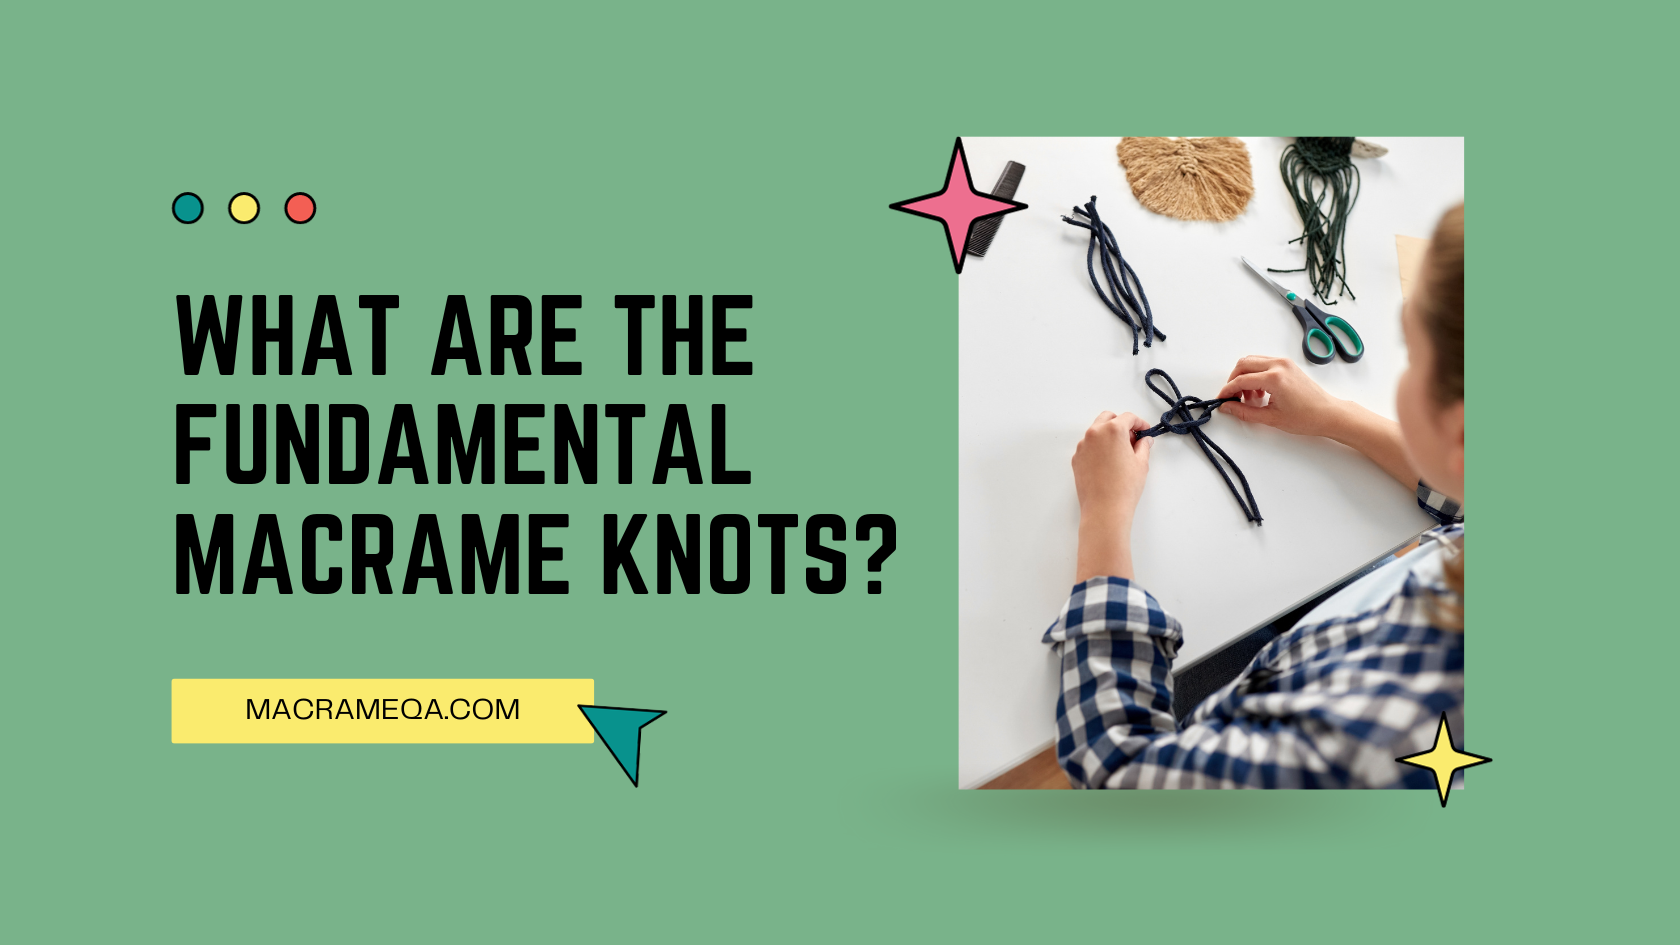
Macrame, the ancient art of knot-tying, has made a captivating comeback in the world of contemporary decor and fashion. With its intricate designs and beautiful textures, macrame has captured the hearts of DIY enthusiasts and crafters alike. To unlock the true potential of macrame, it’s essential to master its fundamental knots. In this comprehensive guide, we will delve into the world of macrame knots, unraveling the techniques behind the square knot, half hitch knot, clove hitch knot, lark’s head knot, spiral knot, and alternating square knot. By the end of this journey, you’ll be well on your way to creating stunning macrame projects that showcase your skills and creativity.
The Importance of Basic Macrame Knots
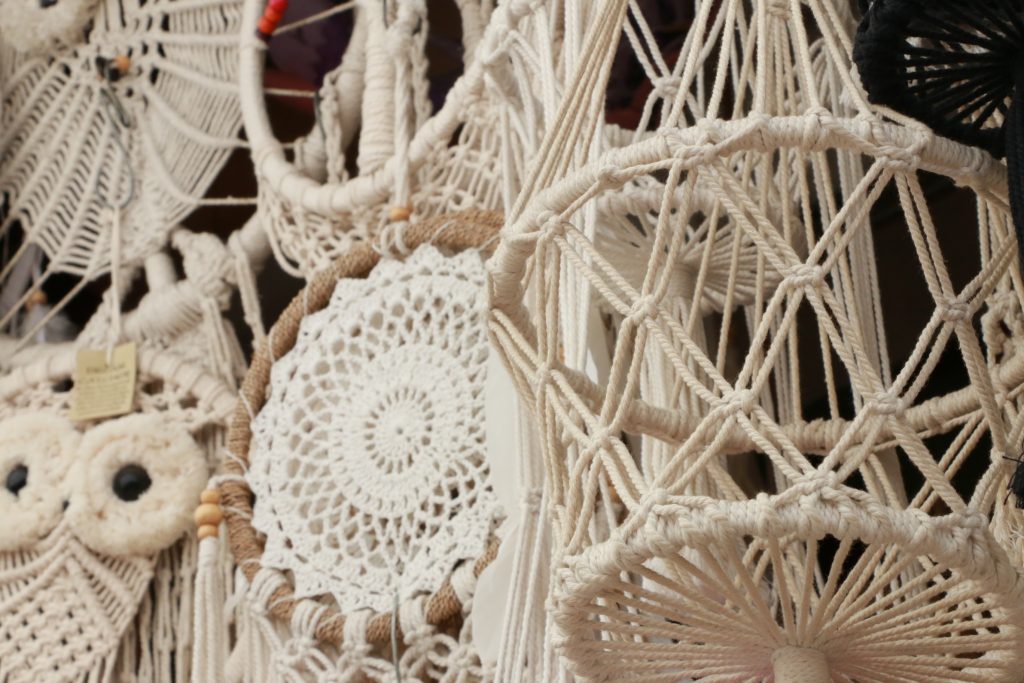
Before we dive into the specific knot tutorials, let’s take a moment to understand why these fundamental knots are crucial in the world of macrame. These knots are the building blocks upon which all macrame creations are constructed. Whether you’re crafting plant hangers, wall hangings, or intricate jewelry, mastering these knots is essential for achieving precision and artistry in your projects.
The Square Knot
The Cornerstone of Macrame
The square knot is arguably the most critical knot in macrame. It forms the foundation for countless patterns and designs, making it an essential skill for any macrame enthusiast. Whether you’re a beginner or an experienced crafter, mastering the square knot is a must.
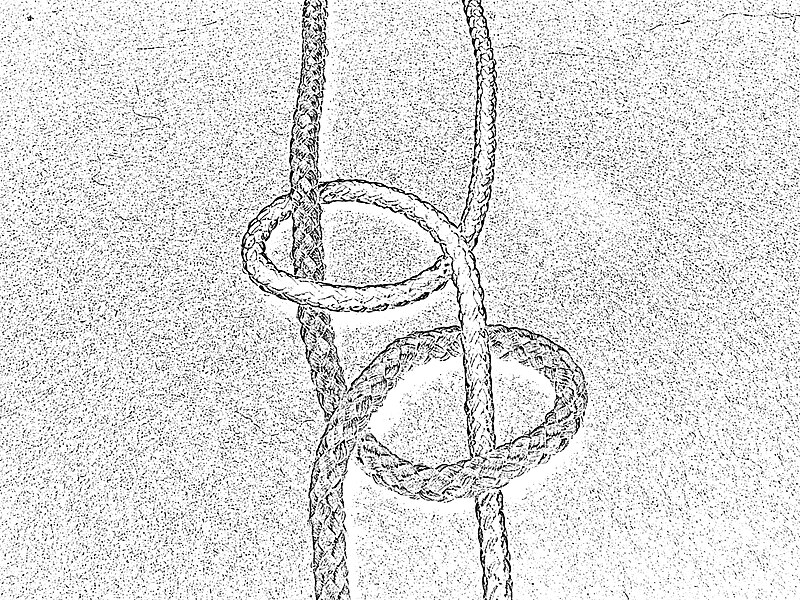
Step-by-Step Square Knot Tutorial
Let’s get started by learning how to tie a square knot. This fundamental knot is created by overlapping two cords, and its symmetry is what makes it so versatile. Here’s a step-by-step guide:
1. Take two cords, one on the left and one on the right.
2. Cross the left cord over the right cord, forming a “4” shape.
3. Pass the left cord behind the right cord, creating a loop.
4. Bring the end of the left cord up through the loop.
5. Pull both cords to tighten the knot.
Creative Variations and Applications
Once you’ve mastered the basic square knot, you can explore various creative variations, such as the diagonal double half hitch, twisted square knot, and double half hitch. These variations can add depth and complexity to your macrame designs, allowing you to create stunning patterns and textures in your projects.
The Half Hitch Knot
Adding Texture and Depth to Macrame
The half hitch knot is a versatile knot that allows you to add texture and depth to your macrame projects. By incorporating this knot, you can create intricate patterns and decorative elements that make your creations stand out.
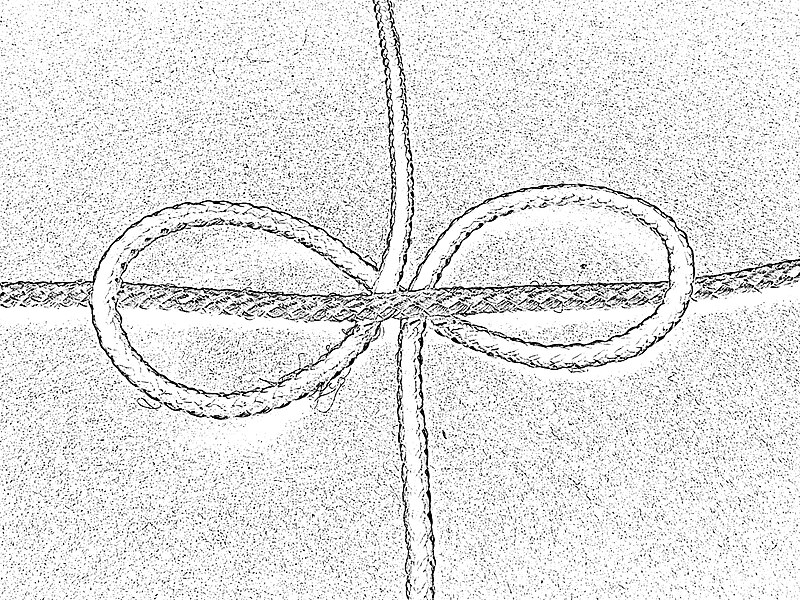
Half Hitch Knot Tutorial
To tie a half hitch knot, follow these simple steps:
1. Take one cord and place it over the other cord.
2. Wrap the first cord around the second cord, creating a loop.
3. Pass the end of the first cord through the loop.
4. Pull both cords to tighten the knot.
This knot is a staple in macrame and is often used in combination with other knots to create beautiful designs.
Half Hitch Knot in Advanced Projects
As you gain confidence with the half hitch knot, you can explore more advanced macrame projects. These may include intricate wall hangings, plant holders, and even jewelry. The half hitch knot’s ability to add texture and dimension to your work will be a valuable skill in these endeavors.
The Clove Hitch Knot
A Knot for Stability and Balance
The clove hitch knot is known for its stability and balance, making it an essential knot for creating secure and well-structured macrame projects. Whether you’re working on a large wall hanging or a delicate plant hanger, this knot will provide the support your project needs.
How to Tie the Clove Hitch Knot
To tie a clove hitch knot, follow these steps:
1. Take one cord and cross it over the other cord.
2. Wrap the first cord around the second cord, creating a loop.
3. Pass the end of the first cord through the loop.
4. Pull both cords to tighten the knot.
The clove hitch knot is particularly useful for starting your macrame projects, ensuring that they begin with stability and security.
Clove Hitch Knot in Plant Hangers
One of the most common uses for the clove hitch knot is in macrame plant hangers. This knot provides the necessary structure to hold the weight of your potted plants, making it an ideal choice for crafters looking to add a touch of greenery to their living spaces.
The Lark’s Head Knot
Starting Your Macrame Journey
The lark’s head knot is the gateway knot to the world of macrame. It is the knot you’ll use to attach your cords to a dowel or ring, creating the foundation for your macrame project. Learning this knot is your first step in the exciting journey of macrame.
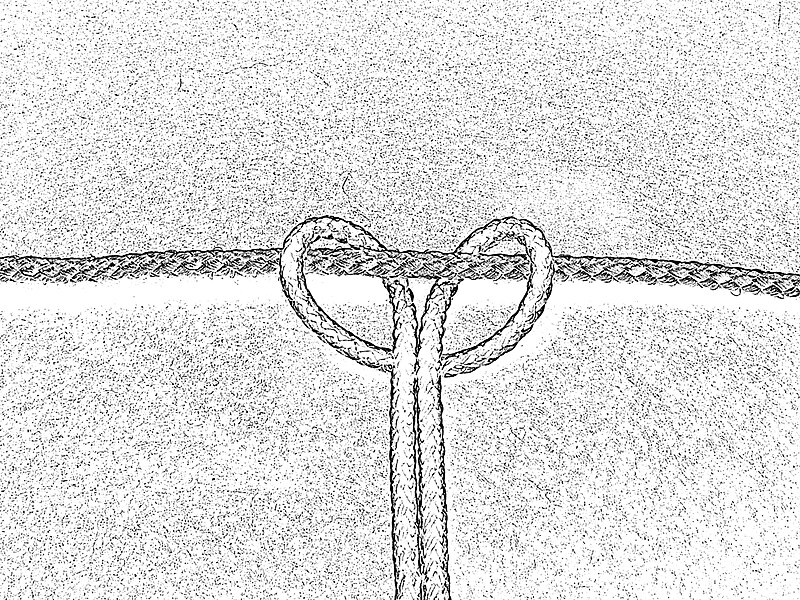
Lark’s Head Knot Tutorial
To tie a lark’s head knot, follow these simple instructions:
1. Fold a cord in half to create a loop.
2. Place the loop over the dowel or ring.
3. Pull the ends of the cord through the loop and tighten.
Creative Uses of the Lark’s Head Knot
While the lark’s head knot may seem basic, it plays a crucial role in various macrame designs. It’s not just a means of attaching cords; it can be used creatively to add decorative elements to your projects. Whether you’re creating a fringe or incorporating unique patterns, the lark’s head knot can be a valuable tool in your macrame toolkit.
The Spiral Knot
Adding Elegance to Macrame
The spiral knot is all about adding elegance and grace to your macrame creations. This beautiful knot creates mesmerizing spiraling patterns that can be used to enhance your projects, giving them a touch of sophistication and uniqueness.
Step-by-Step Spiral Knot Tutorial
To create a spiral knot, follow these steps:
1. Take one cord and hold it diagonally across the other cord.
2. Wrap the first cord around the second cord, forming a loop.
3. Pass the end of the first cord through the loop.
4. Pull both cords to tighten the knot.
5. Repeat these steps to create a spiraling pattern.
Advanced Spiral Knot Techniques
Once you’ve mastered the basic spiral knot, you can explore advanced techniques, such as incorporating multiple cords to create intricate spiral designs. These techniques can take your macrame projects to the next level, allowing you to express your creativity in new and exciting ways.
The Alternating Square Knot
Creating Intriguing Alternating Designs
The alternating square knot is a versatile pattern that adds intrigue to your macrame projects. By combining square knots with alternating cords, you can create stunning designs that capture attention and admiration.
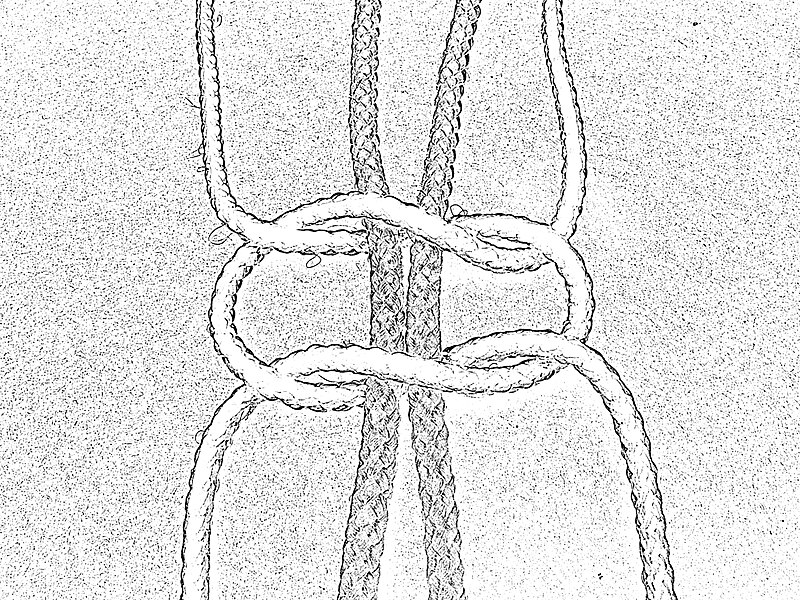
Alternating Square Knot Tutorial
To create an alternating square knot, follow these steps:
1. Take two sets of cords, one set on the left and one set on the right.
2. Tie a square knot with the first set of cords.
3. Repeat the square knot with the second set of cords.
4. Continue alternating between the two sets to create a pattern.
Advanced Projects with Alternating Square Knots
As you become proficient with the alternating square knot, you can explore more advanced projects that showcase your skills. From intricate wall hangings to unique accessories, this knot opens the door to a world of creative possibilities.
Troubleshooting Common Macrame Knot Issues
Tips for Knot Tying Consistency
In the world of macrame, achieving consistent knots is essential for the overall quality of your projects. To maintain uniformity and precision, consider the following tips:
1. Maintain even tension: Keep your cords taut but not overly tight to ensure consistency in your knots.
2. Use quality materials: High-quality cords and tools can make a significant difference in the outcome of your macrame projects.
3. Practice, practice, practice: Like any skill, perfecting your knot-tying technique requires practice and patience.
4. Pay attention to details: Take your time and double-check each knot to ensure it’s tied correctly.
Fixing Mistakes: Untangling and Correcting Knots
Mistakes are an inevitable part of any crafting journey. Whether you’ve made a wrong knot or tangled your cords, here’s how to fix common macrame mistakes:
1. Untangling knots: Gently work your way through a tangled section, taking care not to pull too hard and worsen the situation.
2. Correcting missteps: If you’ve tied the wrong knot, carefully undo it and start over.
3. Adding an extra cord: If you run out of a cord while working on a project, you can add an additional cord and hide the join within your macrame design.
Conclusion
Unleashing Your Macrame Creativity
As you’ve journeyed through the fundamental macrame knots, you’ve equipped yourself with the skills needed to create stunning macrame projects. These knots, from the square knot to the alternating square knot, are the keys to unlocking your creativity and expressing your unique style through this timeless art form. The possibilities are endless, and the more you practice, the more intricate and beautiful your macrame creations will become. So, gather your cords, tools, and inspiration, and let your macrame journey continue to flourish.
FAQs
Q1. What materials do I need to start with macrame?
A1. To begin your macrame journey, you’ll need cords (commonly cotton or jute), scissors, a dowel or ring (for hanging projects), and a work surface.
Q2. Are there specific patterns or projects suited for beginners?
A2. Yes, there are many beginner-friendly patterns, such as simple wall hangings, plant hangers, and keychains. Starting with these projects will help you build confidence and skills.
Q3. How can I add color to my macrame projects?
A3. You can dye your cords using fabric dyes or choose colored cords to add a pop of color to your macrame creations.
Q4. Can I incorporate beads and other embellishments into my macrame designs?
A4. Absolutely! Beads, shells, and other embellishments can be added to your macrame projects to personalize and enhance their aesthetic.
Q5. Where can I find macrame patterns and inspiration?
A5. You can find macrame patterns in books, online tutorials, and craft stores. Social media platforms like Pinterest and Instagram are also excellent sources of inspiration.
With these fundamental knots and a little creativity, you’re well on your way to becoming a skilled macrame artist. Embrace the art, enjoy the process, and let your imagination run wild as you create unique macrame pieces that reflect your personal style.